
Venom Model BPR Indicator V1.0 MT5 — Trade Balanced Price Ranges with Confidence
If you’ve been hearing traders talk about BPR (Balanced Price Range) in smart-money circles and wondered how to spot it consistently on MT5, the Venom Model BPR Indicator V1.0 MT5 is built for exactly that. It automatically marks potential Balanced Price Ranges created by aggressive displacement and subsequent “balancing” by price—so you can focus on trade execution instead of manual zone drawing. Whether you’re an ICT-style day trader or a swing trader looking for high-probability reaction areas, Venom makes those hidden imbalances obvious, tradable, and far less stressful.
What is a Balanced Price Range (BPR), in plain English?
In smart-money terms, a BPR forms when price moves impulsively in one direction (displacing past structure), then trades back to “balance out” that move by filling in the opposing range. The result is a zone where institutions often mitigate positions, rebalance inventory, or trap late entries. Practically, that means you’ll often see:
- A strong displacement candle (or leg) that runs liquidity.
- A retracement that revisits the origin range.
- A clear box/zone where reactions are statistically meaningful.
The Venom Model algorithm scans for exactly this behavior and highlights it—so you can quickly see potential continuation or reversal trades around the BPR zone, often with cleaner risk.
Why the Venom Model BPR Indicator stands out
Most generic zone tools flood charts with boxes. Venom’s logic filters for true displacement, clean mitigation, and context—so your screen doesn’t look like confetti. You get flexibility (scalp to swing), clarity (color-coded zones), and discipline (alerts at your price, not when it’s too late).
Key Features at a Glance
- Automatic BPR detection: Finds bullish and bearish BPRs formed by genuine displacement, not random chop.
- Multi-Timeframe (MTF) confluence: Show H1/H4 BPR zones on an M5/M15 chart for top-down precision.
- Liquidity context overlays: Optional visualization for relative equal highs/lows near a BPR.
- Fair Value Gap (FVG) synergy: Toggle to display nearby FVGs to stack confluence.
- Strength scoring: Each BPR gets a behind-the-scenes quality score (you can filter low-quality zones).
- Clean, minimal visuals: Adjustable opacity, border width, and zone extension.
- Smart alerts: Pop-up, push, and email when price taps/enters/exits a chosen BPR.
- No repaint on closed candles: Zones lock once the candle closes; feel free to replay/backtest.
- Performance-friendly: Efficient scanning so your platform doesn’t lag on multi-pair watchlists.
- One-click templates: Save/load settings for scalping vs. swing profiles.
How to trade with Venom BPR (step-by-step)
1) Top-down bias.
Start on H4/H1 to establish a market narrative. Are we trending higher after taking sell-side liquidity? Did price recently rebalance an FVG and leave a bullish BPR behind? Mark that bias.
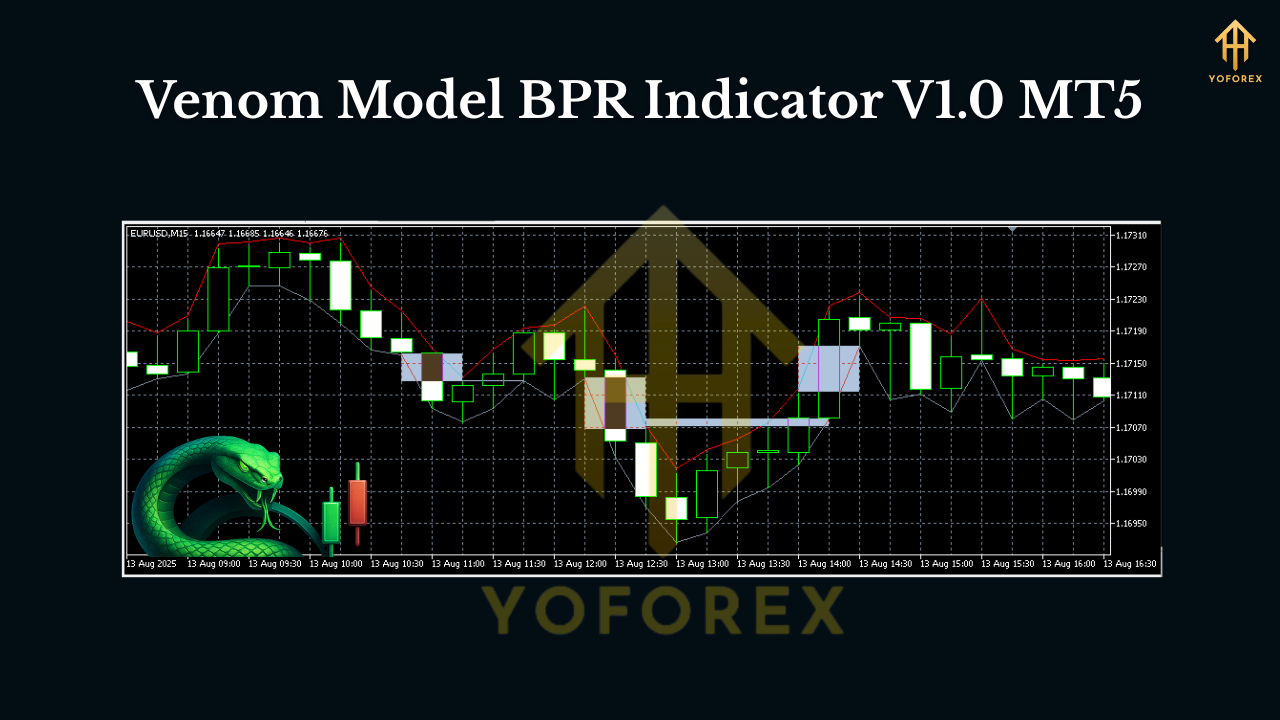
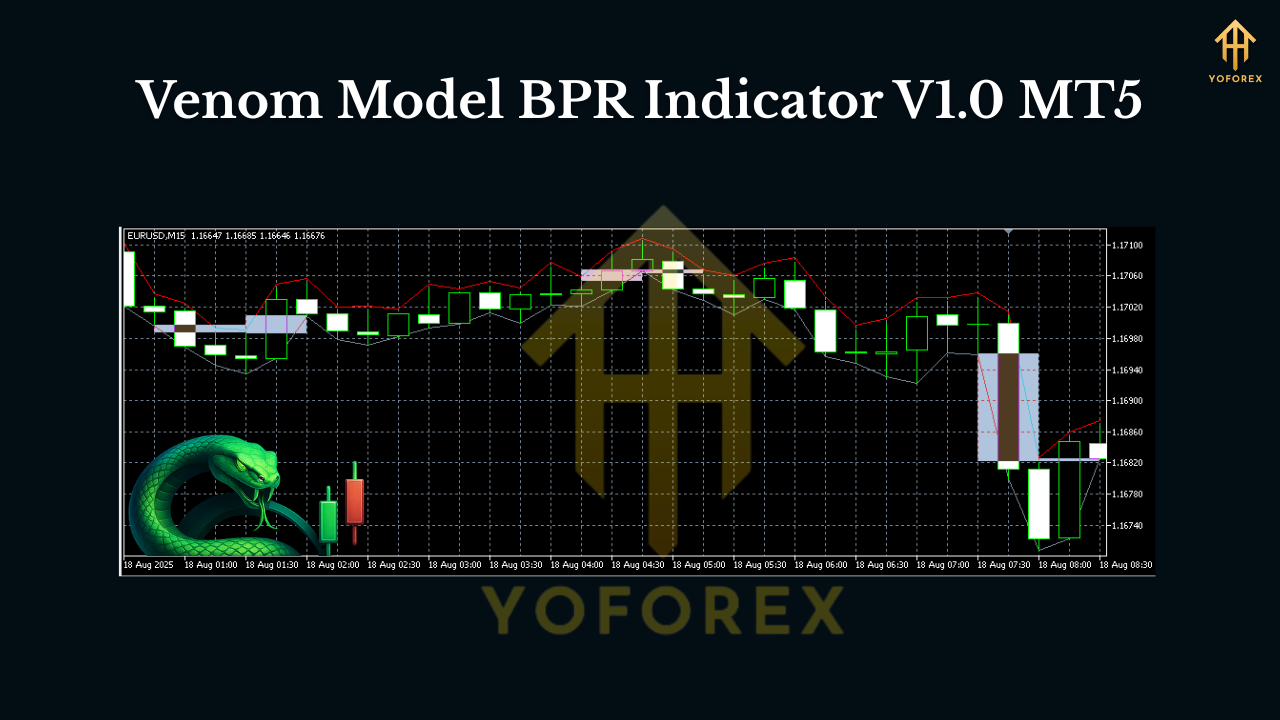
2) Identify the active zone.
Drop to M15/M5 and enable MTF to see higher-timeframe BPRs. Venom will box them clearly (e.g., green for bullish, red for bearish). If you also toggle FVGs and liquidity lines, you’ll notice when a BPR aligns with an FVG and sits under/above equal highs/lows—nice confluence.
3) Wait for a clean touch + reaction.
Patience pays. Let price trade into the BPR. A wick rejection or a small displacement out of the zone hints that larger hands are active.
4) Trigger.
Use your preferred trigger: break of a minor swing on M1–M5, a fair-value micro-gap fill, or a “change of character” candle out of the zone. The indicator’s alert can ping you right at the zone touch so you don’t chase.
5) Risk management.
Place the stop beyond the BPR opposite boundary (or the candle that formed it). Keep a fixed fractional risk (e.g., 0.5%–1%) and avoid stacking entries until you have distance from nearby liquidity magnets.
6) Take-profit logic.
Consider partials at opposing liquidity or the next HTF swing point. Leave a runner if the higher-timeframe bias suggests continuation.
Settings that matter (and how to tune them)
- Sensitivity: Lower values = stricter displacement requirement (fewer, higher-quality BPRs). Scalpers might increase sensitivity slightly to catch more micro-zones; swing traders usually prefer it stricter.
- Minimum Leg Size (points): Filters out tiny moves during low-volatility hours.
- Zone Width Multiplier: Controls how tightly the box hugs structure; default is balanced.
- MTF Layers: Choose up to two higher timeframes to overlay (e.g., M15 showing H1/H4 zones).
- Alert Conditions: Enter, touch, exit, or distance-to-zone. Distance pre-alerts are great when you’re multitasking.
- Visual Theme: Switch between minimal lines or filled boxes with opacity—keep it legible.
Pairs, timeframes, and sessions
The Venom Model BPR Indicator is multi-asset: majors (EURUSD, GBPUSD, USDJPY), minors, XAUUSD, and even indices/crypto CFDs your broker offers on MT5.
- Scalping/Intraday: M1–M15 works well during London/NY overlap when displacement is clean.
- Swing: H1–H4/D1 to let higher-timeframe BPRs do the heavy lifting.
- Quiet Asia? Be selective; increase displacement thresholds so you don’t overtrade chop.
A simple playbook you can start using today
- Bullish scenario: H1 makes a higher high, runs sell-side liquidity, leaves a bullish BPR. On M5, price returns into that BPR during London session. You get a wick rejection, then an M1 structure break up. Enter on the retest; stop below the BPR; target the prior H1 high and the next liquidity pool.
- Bearish scenario: H4 sweeps buy-side liquidity into a premium array, leaves a bearish BPR. On M15, price taps the zone, shows a change-of-character down. Short the retest; stop above the BPR; partials at equal lows, runner to the HTF swing low.
Who is this indicator for?
- ICT/SMS traders who value concepts like displacement, mitigation, FVG, and liquidity.
- Busy intraday traders who want alerts right at the zone, not five candles later.
- Swing traders who prefer fewer, higher-probability reaction points on HTF.
- System builders who want a consistent, rules-driven way to mark BPRs without subjective guesswork.
Tips, best practices, and common pitfalls
- Confluence is king: BPR + FVG + liquidity + session timing = better odds.
- Don’t over-optimize: A super-sensitive setting might mark every wiggle. Keep it clean.
- News risk: Even a perfect BPR can fail in front of high-impact events. Stand aside or reduce size.
- Journal everything: Screenshot the zone, execution, and outcome. Your pattern recognition will skyrocket.
- No indicator is a crystal ball: Use BPRs as locations, not as guarantees. Execution still matters.
Installation (MT5) in under a minute
- Download the Venom Model BPR Indicator V1.0 file.
- In MT5, go to File → Open Data Folder.
- Navigate to MQL5 → Indicators and paste the file there.
- Restart MT5 (or right-click Indicators in Navigator → Refresh).
- Drag Venom Model BPR onto your chart.
- Load one of the included templates (Scalp, Intraday, Swing) or tune inputs to taste.
- Enable alerts if you want notifications on mobile/email.
Final word
Balanced Price Ranges are where markets often reveal the hand behind the curtain. With the Venom Model BPR Indicator V1.0 MT5, you’re not guessing where those zones are—you’re systematically finding them, filtering them, and acting when price gives you the green light. Keep your plan tight, manage risk, and let the tools do the heavy lifting.
Join our Telegram for the latest updates and support


Comments
No comments yet. Be the first to comment!
Leave a Comment